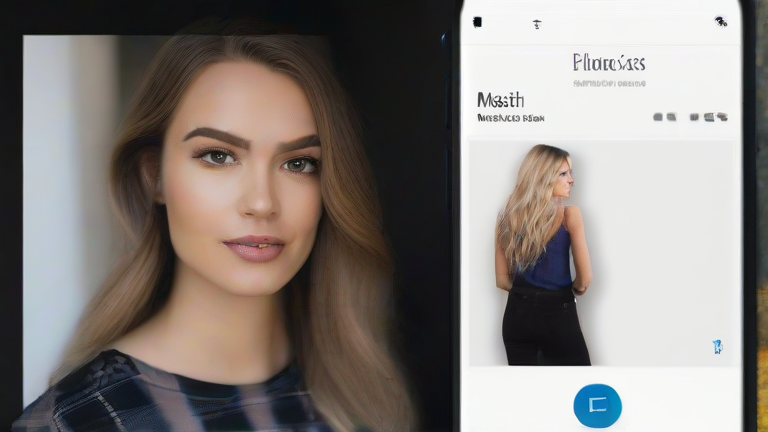
 Lightroom Mobile Tutorial: Master Portrait Presets in 10 Minutes
TL;DR: Import your photo, apply a portrait preset, and then fine-tune the skin tones and background separation using the HSL panel. Mastering this workflow allows you to achieve professional, consistent results in under ten minutes without needing desktop software.
Step 1: Preparing Your Photo
Open the Lightroom Mobile app and select a high-quality portrait from your camera roll. Ensure the image has a clear subject and sufficient resolution. If the photo is significantly overexposed or underexposed, use the Exposure slider to bring the histogram closer to the center before applying any presets. This ensures that the preset enhances the image rather than correcting major lighting errors. A well-exposed base image provides the best canvas for creative adjustments.
If you want to dig deeper, check out our guide on Dyson V15 Detect vs V11: Which Cordless Vacuum Wins?.
Step 2: Applying the Preset
Tap the Presets icon, which looks like a diamond, located at the bottom of the editing screen. Browse through the built-in categories or import your own custom presets. Select a portrait preset that matches the mood you are aiming for, such as “Moody,” “Bright,” or “Vintage.” Observe how the preset immediately changes the color temperature and contrast. If the result is too strong, reduce the intensity of the preset by tapping on the preset name and lowering the opacity slider to about 50-70%. This subtle application preserves natural details.
Step 3: Refining Skin Tones
Navigate to the HSL panel. This is the most critical step for portrait photography. Select the Orange hue, which typically controls skin tones. Adjust the Saturation slider slightly to make the skin look vibrant but not orange. If the skin appears too yellow, move the Hue slider slightly toward red. If the skin looks too pink, move it toward yellow. Fine-tune the Luminance slider to brighten or darken the skin subtly. This step ensures that the subject stands out naturally from the background.
Step 4: Background Separation
To make the subject pop, adjust the background elements. Use the Teal or Blue sliders in the HSL panel to desaturate or darken the background if it is distracting. You can also increase the Contrast in the Basic panel to add depth. If the background is too bright, use the Highlights slider to bring down the brightness of the white areas. This technique creates a professional look where the viewer’s eye is drawn directly to the subject’s face.
Step 5: Final Touches
Add a subtle grain in the Effects panel to give the photo a film-like texture. A low amount of vignetting can also help focus attention on the subject. Review the image on your phone screen to check for any over-saturation or color banding. Once satisfied, tap the checkmark to save your changes. You can now export the image or share it directly to social media platforms. This streamlined process ensures consistent quality across all your portrait photos.
Pro Tips
Always edit in RAW format if possible, as it provides more flexibility during the editing process. Avoid using presets that drastically change the white balance, as they can make skin tones look unnatural. It is better to make small adjustments to the Temperature and Tint sliders manually before applying a preset. Keep a library of your favorite presets for different lighting conditions, such as indoor, outdoor, and low light. Consistency is key to building a recognizable photographic style.
FAQ
Q: Can I use these presets on iPhone and Android?
A: Yes, the Lightroom Mobile app functions identically on both platforms, allowing you to apply presets and adjust settings seamlessly regardless of your device.
Q: Do I need a subscription to access all presets?
A: While the free version includes basic editing tools, a Lightroom subscription provides access to the full library of advanced presets and cloud synchronization features.
Q: How do I share my custom preset with others?
A: You can