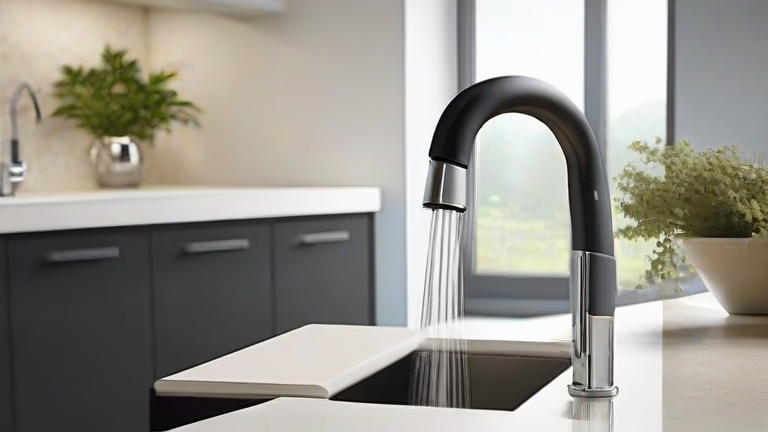
TL;DR: To fix a leaky kitchen faucet, first turn off the water supply, then disassemble the handle to identify and replace the worn washer or cartridge. This process typically requires basic tools like an adjustable wrench and screwdrivers, ensuring a quick and cost-effective repair without needing a professional plumber.
A dripping faucet is not only annoying but also wastes hundreds of gallons of water annually, driving up your utility bill unnecessarily. Fortunately, most kitchen faucet leaks stem from simple, replaceable internal components. By following this step-by-step guide, you can restore your fixture to perfect working order in under an hour.
If you want to dig deeper, check out our guide on Best Cheap Web Hosting for a New Website (2024 Guide).
Gather Your Tools and Materials
Before you begin, ensure you have the necessary supplies. You will need an adjustable wrench, a set of screwdrivers (both flathead and Phillips), pliers, and a replacement kit specific to your faucet model. It is crucial to know whether your faucet uses a compression, ball, cartridge, or ceramic disk valve, as this determines the parts you need. Check the manufacturer’s website or bring your old parts to a hardware store for an exact match. Additionally, keep a rag and a small bowl handy to catch any residual water and prevent messes in your sink basin.
Shut Off the Water Supply
Safety and cleanliness are paramount. Locate the hot and cold water shutoff valves under your sink. Turn them clockwise until they stop. If the valves are stiff or broken, you may need to shut off the main water supply to your house. Open the faucet to drain any remaining water from the lines, confirming that the flow has stopped completely. This step prevents flooding when you remove the faucet components.
Disassemble the Faucet
Remove the decorative cap on top of the handle using a flathead screwdriver or your fingernail. Underneath, you will find a screw securing the handle. Remove this screw and gently lift the handle off. If it is stuck, use pliers carefully, but avoid scratching the finish. Once the handle is off, you will see the packing nut or retaining clip. Use your adjustable wrench to loosen and remove the packing nut, exposing the valve stem or cartridge.
Replace the Faulty Parts
Inspect the internal components for wear. In compression faucets, look for a rubber washer at the bottom of the stem; if it is cracked or flattened, replace it. For cartridge faucets, the entire cartridge may need replacement. Pull out the old part carefully, noting its orientation for reinstallation. Insert the new washer or cartridge, ensuring it fits snugly. Reassemble the faucet in reverse order: tighten the packing nut, replace the handle, and secure it with the screw. Replace the decorative cap.
Test the Repair
Turn the water supply valves back on slowly. Open the faucet and check for leaks. If water still drips, tighten connections slightly or recheck the seal of the new parts. If the leak persists, you may have installed the wrong part or damaged a seal during assembly. In such cases, consider consulting a professional plumber.
FAQ
Q: How long does it take to fix a leaky faucet?
A: Most standard repairs take between 30 minutes to an hour, depending on the complexity of the faucet model and your familiarity with the tools.
Q: Can I use any replacement parts?
A: No, you must use parts compatible with your specific faucet brand and model to ensure a proper seal and function.
Q: What if I can’t turn off the water supply?
A: If the under-sink valves are broken, you must shut off the main water supply to your entire house before proceeding with the repair.