TL;DR: To clean your Dyson V15 Detect, detach the bin, empty it, and rinse the filters with cold water until the water runs clear. Ensure all components are completely air-dried for at least 24 hours before reassembly to prevent motor damage and maintain optimal suction power.
Preparation and Safety First
Before beginning any maintenance on your Dyson V15 Detect, ensure the device is switched off and removed from the charger. This step is critical to prevent accidental activation of the motor while you are handling internal components. Gather a soft cloth, a bowl of cold water, and a mild detergent if necessary. Avoid using hot water, as extreme temperatures can damage the delicate HEPA filters and shorten their lifespan. Having your workspace organized will make the process smoother and less stressful, allowing you to focus on each component with precision.
If you want to dig deeper, check out our guide on Top 10 Tech Trends Shaping the Future of Business in 2024.
Emptying and Cleaning the Bin
Press the red bin release button to detach the clear bin from the main body of the vacuum. Hold the bin over a trash can and pull the red lever down to open the bottom flap. This mechanism allows debris to fall out easily without you needing to touch the dirt directly. Once empty, inspect the bin for any large debris that might be stuck in the cyclone apertures. Use a soft brush or a dry cloth to gently wipe away dust from the exterior of the bin. If the bin is particularly dirty, you can wash it with warm soapy water, but ensure it is thoroughly rinsed and dried before putting it back.
Filter Maintenance
The Dyson V15 Detect features two filters: one pre-motor filter and one post-motor HEPA filter. Locate the washable filter housing at the base of the machine. Press the silver release button to remove the filter. Rinse the filter under cold running water for at least three minutes until the water runs clear. Do not use soap or detergents on the filters, as residues can clog the pores and reduce airflow. Gently squeeze out excess water without twisting or wringing the filter material, which could cause permanent deformation. Place the filter in a well-ventilated area to air dry completely.
Brush Bar and Head Cleaning
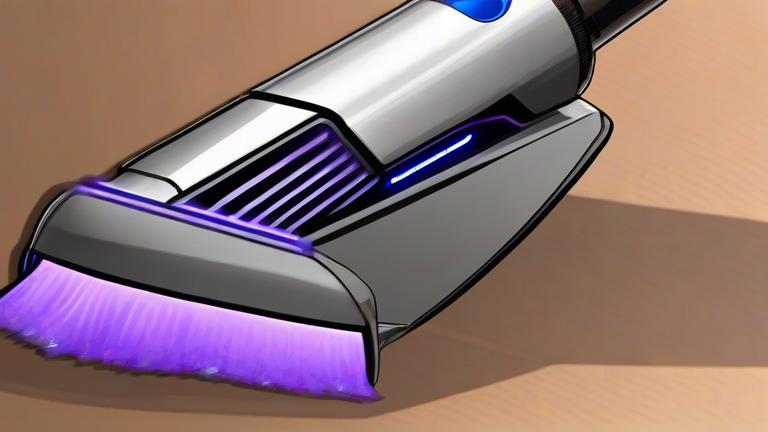
Turn the vacuum over to access the Laser Slim Fluffy cleaner head. Use a pair of scissors or a seam ripper to cut away any hair or thread wrapped around the brush bar. Dyson designs the brush bar to be removable; slide the locking mechanism and lift the brush bar out for a more thorough cleaning. Wipe the brush bar with a damp cloth to remove dust and grime. Check the airway inside the cleaner head for blockages using a long, thin object like a chopstick or a specialized cleaning tool. Clear any obstructions to ensure unimpeded airflow.
Reassembly and Final Checks
Once all components are completely dry, reassemble the vacuum. Insert the filters back into their housing until they click into place. Reattach the clean bin to the main body. Ensure the brush bar is securely placed back into the cleaner head. Plug the vacuum in and perform a quick test run to verify that suction is restored and no unusual noises are present. Regular maintenance every two weeks will extend the life of your device and maintain peak performance.
FAQ
Q: How often should I wash the filters?
A: You should wash the filters approximately once a month, or sooner if you notice a decrease in suction power.
Q: Can I use a dishwasher to clean the bin?
A: No, you should never put the bin or filters in a dishwasher as the heat and detergents can cause severe damage to the plastic and filtration materials.
Q: What should I do if the battery won’t charge after cleaning?
A: Ensure the battery contacts are clean and dry, and check that the battery is properly seated in the charger slot before contacting Dyson support.