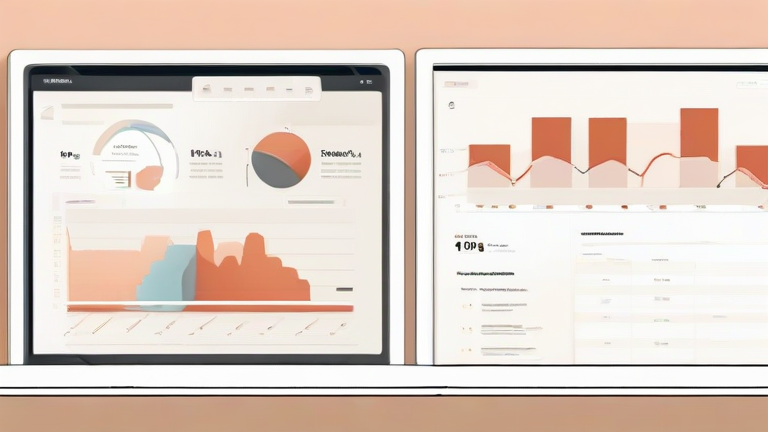
TL;DR: To build your first Notion dashboard, create a new page and add a database to store your core tasks or projects. Then, use views like Board, Table, or Calendar to visualize this data, arranging these views on a single page for a comprehensive overview of your workflow.
Notion Beginner’s Guide: Build Your First Dashboard
Notion is a versatile workspace that allows you to organize your life and work in one place. For beginners, the concept of a “dashboard” can feel intimidating, but it is simply a single page that aggregates different views of your data to give you a quick snapshot of your priorities. This guide will walk you through the essential steps to create a functional and visually appealing dashboard from scratch.
If you want to dig deeper, check out our guide on Moderna, Merck Melanoma Vaccine Succeeds in Trial.
Step 1: Create Your Base Page
Start by opening Notion and creating a new blank page. Name it something clear, like “Personal Dashboard” or “Work Hub.” This page will serve as the container for all your widgets and views. Keep the background clean initially, as you can add aesthetic elements later once the structure is solid.
Step 2: Initialize Your Database
Inside your new page, type “/database” and select the “Table” view. This database is the heart of your dashboard. Define your columns (properties) carefully. Common properties include “Name,” “Status” (select), “Due Date” (date), and “Priority” (multi-select). Enter at least three to five sample items to test how the data populates. Remember, a database is just data; it becomes a dashboard when you view it differently.
Step 3: Add Multiple Views
At the top of your database, you will see a “Table” tab. Click the plus icon next to it to add new views. For a balanced dashboard, add a “Board” view to see tasks by status (Kanban style) and a “Calendar” view to monitor deadlines. You can also add a “Gallery” view if you are tracking creative projects. Each view offers a unique angle on the same data, allowing you to switch contexts without leaving the page.
Step 4: Arrange and Format
Drag and drop these views to arrange them logically. Place the Board view at the top for immediate action items, followed by the Calendar for future planning. You can resize the views by dragging the edges of the blocks. If you want to filter specific data, use the “Filter” button within each view. For example, in the Board view, you might filter to show only “In Progress” items to keep the dashboard clutter-free.
Step 5: Add Quick Access Links
Use the “/link” command to add shortcuts to other important pages, such as your meeting notes or weekly reviews. This turns your dashboard into a central hub. Finally, consider adding a toggle list for quick notes or a progress bar property if you are tracking long-term goals. Keep the design minimal at first; complexity can be added as you become more comfortable with the interface.
Pro Tip: Do not try to make the dashboard perfect on the first try. Start with one database and one or two views. Expand only when you feel overwhelmed or need more context. Your dashboard should reflect your current workflow, not an idealized future one.
FAQ
Q: Can I use Notion dashboards for both personal and work life?
A: Yes, you can create separate databases for personal and work tasks and include views for both on a single dashboard, or create two separate dashboard pages to keep contexts distinct.
Q: How do I update my dashboard automatically?
A: Notion databases update in real-time. When you add, edit, or delete an item in any view, all other views linked to that same database will reflect the changes instantly without manual syncing.
Q: Is it possible to share my dashboard with others?
A: Yes, you can share the page via a