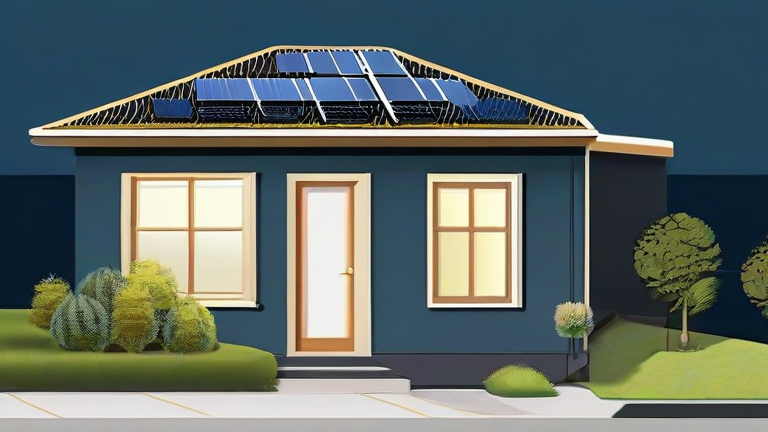
TL;DR: A decentralized microgrid for a suburban home pairs rooftop solar, battery storage, and smart switching to disconnect from the grid during outages or peak pricing. You achieve energy independence by sizing the system to your critical loads, then using software to automate islanding and reconnection.
Step 1: Audit Your Critical Loads
List every appliance you must keep running during an outage: refrigerator, furnace fan, well pump (if applicable), router, lights, and medical devices. Sum their wattages (check nameplates) and estimate daily kWh usage. For a typical suburban home, this is 5–10 kWh/day, not your full 30 kWh daily average. Do not oversize—microgrids for independence, not luxury, are cheaper and safer.
If you want to dig deeper, check out our guide on Neural Interfaces: Hands-Free Device Control Explained.
Step 2: Choose a Hybrid Inverter with Islanding Capability
Select a UL 1741-SA certified hybrid inverter (e.g., Enphase IQ8, SolarEdge, or Victron) that can operate in “off-grid” mode. This inverter must detect grid loss and switch your home to battery power within milliseconds. Avoid grid-tie-only inverters—they shut down during blackouts for safety. Budget for a critical-loads subpanel that separates essential circuits from the rest of the house.
Step 3: Size Battery Storage for 24–48 Hours
For 10 kWh/day, install at least 13.5 kWh of usable lithium-iron-phosphate (LFP) storage (like a Tesla Powerwall or a rack-mounted EG4). Double this if you live in a region with frequent multi-day storms. Remember: batteries degrade, so add 20% headroom. Use a 48V DC bus for efficiency—it reduces wiring losses and allows future expansion.
Step 4: Install a Microgrid Controller (or Use Smart Software)
This is the brain. A simple option is a transfer switch with a manual bypass; a smarter option is a controller like the Span Smart Panel or a Home Assistant with an energy dashboard. Program it to: (a) charge batteries from solar during daylight, (b) export excess to grid only when net-metering pays well, and (c) automatically island when grid voltage drops below 108V or frequency drifts past 59.3Hz.
Step 5: Test Islanding Monthly
Once installed, simulate a blackout by turning off your main breaker. Verify the inverter switches within 1–2 seconds, that your critical loads run smoothly, and that the system reconnects to the grid without a voltage spike after restoration. Log the test date and battery depth-of-discharge. If your system fails, call an electrician—do not attempt DIY fixes on live DC circuits.
Step 6: Optimize With Time-of-Use Arbitrage
Check your utility’s rate schedule. If peak rates are >0.30/kWh, program the controller to discharge batteries during 4–9 PM, then recharge overnight from the grid (if rates are low) or from solar the next morning. This turns your microgrid into a revenue-neutral asset, not just an emergency backup. Also, enroll in your utility’s demand-response program—many pay you for allowing remote load shedding.
Step 7: Plan for Maintenance and Expansion
Clean solar panels quarterly, check battery terminal torque annually, and update inverter firmware. Keep a spare transfer switch relay in your garage. If you later add an EV charger or heat pump, add a second battery module rather than upgrading the inverter—most modern units support 2–3 modules. Document your wiring diagram and store it near the panel for future homeowners.
FAQ
Q: Can I run my entire house on a microgrid, not just critical loads?
A: Technically yes, but you’d need a 30+ kWh battery and a 10–15 kW inverter, costing $30k+ extra. For suburban homes, critical-loads-only is more cost-effective—you keep the grid for heavy